
The Machinist’s Guide to Selecting Carbide Inserts: Beyond the Grade Card
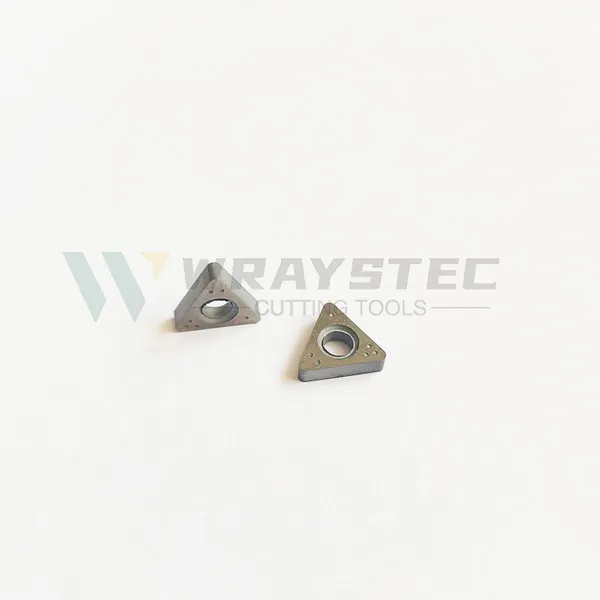
If you have spent any time around a CNC lathe or manual machining center, you know that the carbide insert is the unsung hero of metal removal. That small, indexable triangle or square is the interface between your expensive machine tool and the raw stock. Choosing the wrong one leads to chatter, poor surface finish, broken tools, and scrapped parts. Choosing the right one feels like magic—long tool life, perfect chips, and maximum material removal rates.
With dozens of different grades, coatings, chipbreakers, and geometries on the market, how does a machinist or shop owner make the right call? It is easy to get lost in the catalogs. This guide strips away the marketing jargon and focuses on the four pillars of insert selection: the material, the operation, the geometry, and the grade.
Part 1: Know Your Enemy (The Workpiece Material)
The very first rule of machining is that you cannot fight steel with a tool designed for aluminum. The metallurgy of your workpiece dictates the type of insert you need.
- Steel (P): This is the most common material. Steel produces long, stringy chips and generates high heat. You need a tough, wear-resistant grade with a sharp edge to shear the material efficiently. Look for the "P" color code (blue) in the ISO standard.
- Stainless Steel (M):Stainless is gummy and work-hardens instantly. If your tool rubs instead of cuts, you will ruin the surface. You need a very sharp edge with a positive rake to slice the material cleanly. Look for "M" (yellow) coded inserts with polished or sharp chipbreakers.
- Cast Iron (K): Cast iron is abrasive but brittle. It produces powder-like dust. Since it is abrasive, you need extreme wear resistance. Uncoated or coated carbide with a hard, smooth top surface works best. Look for "K" (red) grades.
- High-Temp Alloys (S): Think Inconel, Titanium, or Hastelloy. These materials are the destroyers of inserts. They retain their strength at high heat. You need a very sharp edge, a high heat-resistant coating (like TiAlN or AlCrN), and a tough substrate. Speed is your enemy here; feed is your friend.
Part 2: The Geometry – Rake, Relief, and Chipbreakers
Once you know what you are cutting, you must decide how you are going to cut it. This is determined by the insert’s geometry.
The Chipbreaker is the secret to success. A chipbreaker is the groove or bump molded into the top face of the insert. Its job is to curl the chip so it breaks into small "C" or "6" shapes. Long, stringy chips are dangerous; they wrap around the tool, mar the finish, and can pull the part out of the chuck.
- Roughing Geometry: These have heavy, aggressive chipbreakers. They are designed to take deep depths of cut (DOC) and high feed rates. They produce thick, heavy chips that break easily.
- Finishing Geometry: These are very sharp with shallow chipbreakers. They are designed for light DOC (usually less than 0.010" per side) to create a mirror finish. They will break if you push them too hard.
- General Purpose: A medium chipbreaker like a "M" or "G" class (molded) is a safe starting point for most shops.
The Rake Angle: Look at the insert from the side. Is the top face flat, tilted back, or tilted forward?
- Positive Rake (Sharp): Cuts freely, low cutting forces. Great for thin walls, stainless, and aluminum.
- Negative Rake (Flat/Blunt): The insert is stronger because it has more mass behind the cutting edge. It handles high heat and heavy interruptions (like cutting through scale). Used for steel and cast iron.
Part 3: The Grade – Matching Hardness to Toughness
This is where metallurgy meets chemistry. Carbide is tungsten carbide particles held together by a cobalt binder. Generally, hardness and wear resistance are the enemy of toughness.
- Wear-Resistant Grades (Hard): These have less cobalt. They are very hard and keep their edge for a long time. However, they are brittle. If you have a rigid setup and a continuous cut, use these. If you have a worn-out lathe or interrupted cuts, they will snap.
- Tough Grades (Soft): These have more cobalt. They are softer and will deform slightly instead of chipping. Use these for heavy interrupted cuts, old manual lathes, or poor fixturing.
A quick rule of thumb:
- Continuous cutting, rigid setup, high speeds → Wear-resistant grade (e.g., C5, P20).
- Interrupted cutting, old machine, low speeds→ Tough grade (e.g., C2, C6, P40).
Part 4: The Coating – The Invisible Armor
Modern inserts are rarely "bare." Coatings are applied via CVD or PVD to reduce friction and heat.
- TiN (Gold): The old standard. Good general purpose for steel and HSS. It reduces friction.
- TiCN (Blue/Grey): Harder than TiN. Excellent for cast iron and abrasive materials.
- TiAlN (Purple/Black):The current king for steel and stainless. When it gets hot, aluminum oxide forms on the surface, creating a heat shield. **Crucial note:** TiAlN needs heat to work. If you take a light cut in stainless with TiAlN, the insert will rub and fail. You must run it hard and fast to generate that 800°C working temperature.
- AlCrN (Light Grey):Designed for high-temp alloys (Inconel, Titanium). It is more chemically stable and won't react with the workpiece at high temperatures.
Part 5: The "Nose Radius" Trap
Beginners often ignore the nose radius (the roundness of the tip). This is a costly mistake.
- Small Radius (0.008" - 0.016"):Weak tip, but allows for fine finishing and tight corners.
- Large Radius (0.031" - 0.062"): Strong tip, spreads the cutting force, and allows for very high feed rates. However, a large radius causes chatter on thin walls and creates high radial forces.
The Golden Rule:Use the largest nose radius your part geometry allows. It will save you from broken edges.
Conclusion: The Decision Matrix
When you are standing at the tool crib, ask these five questions in order:
1. What material am I cutting? (Steel, SS, Cast, Exotic)
2. Is my setup rigid? (New CNC vs. worn manual lathe)
3. Am I roughing or finishing? (Deep cut vs. light cut)
4. Do I have a constant cut or interruptions?
5. What is my machine's max spindle speed?
A practical starting point for the 80% solution:
- General Steel (1018, A36): Negative rake, P30 grade, TiAlN coating, Medium chipbreaker, .031" nose radius.
- 304 Stainless:Positive rake, M20 grade, TiAlN or AlCrN, Sharp chipbreaker, .016" nose radius.
- Aluminum: Uncoated polished insert, High positive rake, Very sharp edge, Large radius for finishing.
Finally, remember that tooling suppliers have spent millions on R&D. Do not guess. Most major brands (Kennametal, Sandvik, Iscar, Mitsubishi) have "grade advisors" or free apps. Enter your material and operation, and they will give you a specific starting speed and feed.
Carbide selection is not magic; it is a science of trade-offs. When in doubt, sacrifice a little tool life for toughness. A broken insert stops production; a worn insert just needs indexing. Happy machining.
Recently Posted
-
Why is it impossible to simultaneously achieve both high hardness and high toughness in cemented car
July 2, 2026In the machining industry, when selecting cemented carbide cutting tools, one often faces a difficult choice: hardness or toughnes Read More
 -
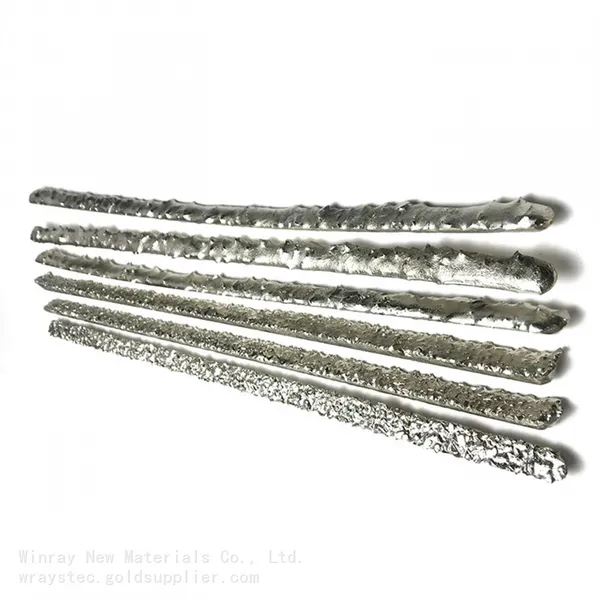
Cast Tungsten Carbide Welding Rods: The Ultimate Solution for Extreme Wear Resistance
June 25, 2026In industries where equipment faces relentless abrasion, impact, and high-temperature stress, the choice of wear protection materi Read More
 -
How to Choose the Right Cemented Carbide Drill Bit for High-Performance Machining
June 3, 2026In precision machining, the drill bit is often the unsung hero. Among all types of drilling tools, cemented carbide drill bits sta Read More
 -
Solid Carbide End Mill for HRC58 Hardened Steel – D8*20*8*60L-4F with Bronze Coating
June 2, 2026Machining hardened steel (up to HRC58) presents unique challenges: high cutting forces, heat generation, and rapid tool wear. With Read More

Contact Us
Recommended Products
-
 C2 Ammco Positive Rake Carbide Bits for RELS Model 45016 R08/10/12 RadiusUS$ 2.5 - 3MOQ: 50 Blades
 -
C2 Ammco Positive Rake Carbide Bits for RELS Model Brake Lathe 45016 RELS Carbide Bits RelacementsUS$ 2.5 - 3MOQ: 50 Blades
-
Holder Number 45703 Inserts Number CB90488 Replaces Accuturn Carbide Bit for Hard SteelUS$ 1.35 - 2.82MOQ: 10 Blades
-
CB90488 Replaces Accuturn Part Number 433796 Fits Accuturn Tool Holders: 433763, 433764, 434056, 434057, 434286, 433779US$ 1.35 - 2.82MOQ: 10 Blades
-
CB90488 Positive Rake Carbide Inserts for Accuturn Models 8911, 8922, 8944, 8989, 8991, 8993US$ 1.35 - 2.82MOQ: 10 Blades
-
Ammco 6914 Insert Can be Used on 6 Edges With Ammco Twin Cutter (6950)/ RELS Twin Cutter (40095) /negative Rake Tool Holder Set # 45701US$ 1.05 - 2MOQ: 10 Blades
-
Negative Rake Carbide Inserts For Ammco Models 4000, 4100, 7000 Lathes CB6914/6918-10US$ 1.05 - 2MOQ: 10 Blades
-
Positive Rake Carbide Bits for Ammco Model 2000 Brake Lathe CB6914-10US$ 1.05 - 2MOQ: 10 Blades
-
Carbide Milling Tools HNGX0906 45 Degree Double Side Heavy Duty MachiningNegotiableMOQ: 10 Blades
-
Carbide Chuck Jaw Inserts for Pipe Chuck Clamp MechanicalNegotiableMOQ: 100 Blades
-
Modern Design High Precision Serdi Carbide Pilot for Guide Cutting MachineNegotiableMOQ: 10 Blades
-
Valve Seat Boring Machine Carbide Incisors Tungsten Carbide Valve Seat InsertsNegotiableMOQ: 10 Blades
-
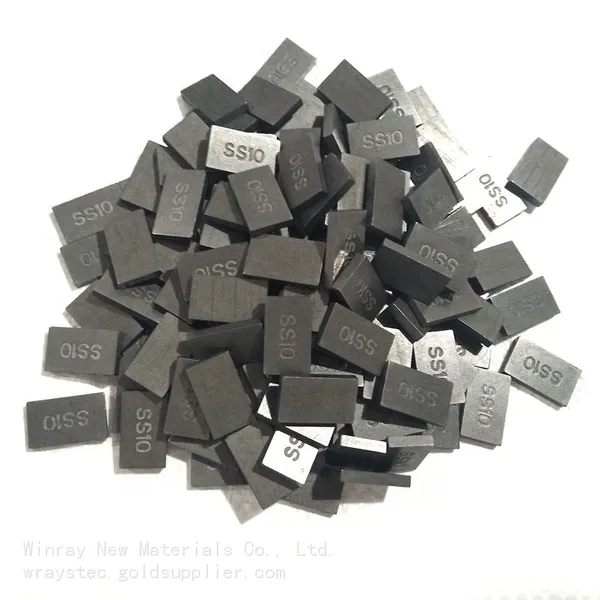
ISO Standard and Best Price Carbide Tips Ss10 Carbide Stone Cutting TipsNegotiableMOQ: 20 Kilograms
-
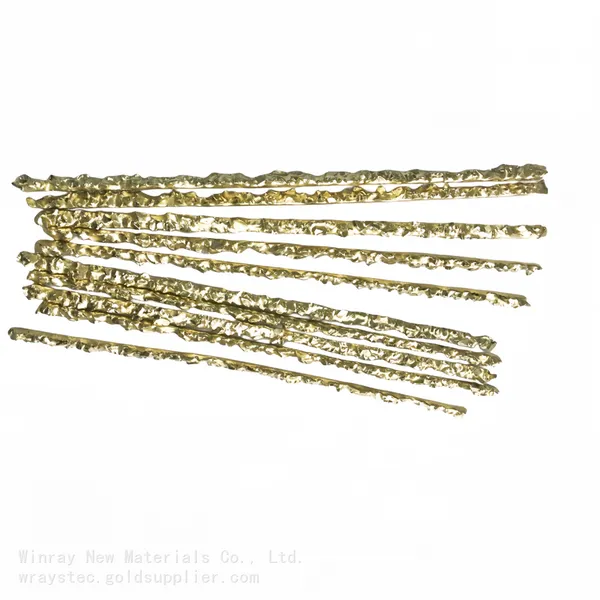
Tungsten Carbide Composite Rods Welding Composite Rods High Wear Resistance for AgriculturalNegotiableMOQ: 10 Kilograms
-
Tungsten Carbide Composite Rod YD Rods YD-5 60/40 With Nickel Matrix AlloyNegotiableMOQ: 10 Kilograms

-
U-shape 40*4.4/4.7/5.0*15mm Diameter Granite Marble Stone Cutting Disc Saw Blade SegmentsNegotiableMOQ: 1 Blade
-
Diamond Saw Blades for Marble Block CuttingNegotiableMOQ: 1 Blade
-
Diamond Wire Rope for Mining OperationsNegotiableMOQ: 1 Combo
-
100% Carbide Raw Materials of PCD Inserts With High Hardness Carbide Base TNGA16T304/08NegotiableMOQ: 10 Blades
-
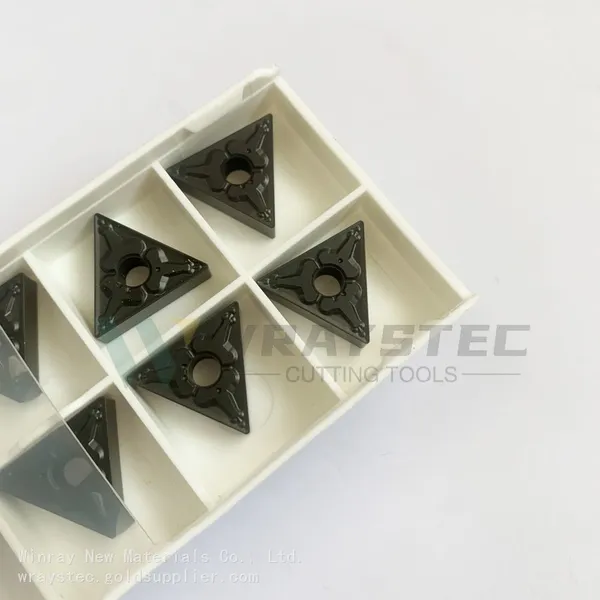
TNMG160404/08/12 CNC Cutting Inserts Triangular Shape for Precision Turning of Steel and Stainless Steel WorkpiecesNegotiableMOQ: 10 Blades